How to Draw A Salmon. In the many bodies of water covering our earth, there is a seemingly endless variety of fish species.
Also, check our panda coloring sheet.
Salmon is one of the most well-known fish in the world and is found in many places worldwide.
In many places like Alaska that have become famous for their salmon production, they are also part of an important industry.
Also, they have a really simple yet distinctive look, and that can make learning how to draw a salmon fun.
If you want to know how to recreate this famous fish, we recommend reading this entire guide!
How to Draw A Salmon
Step 1
We’ll start this salmon drawing guide by creating the outline of the fish. Use some curved lines to draw the salmon’s lips on top.
This is how we draw the contour of almost the entire fish body.
We can draw these outlines with longer curved lines coming down from the top of the fish where you drew the lips.
The fish’s body tapers as you go down and curves sharply to the left, as shown in the reference image. Once we’ve drawn this body outline, we’re ready for Step 2 of the tutorial!
Step 2
For the second part of this salmon drawing, we will add some facial features along with some flippers and flippers for the fish.
First, draw a small circle for the fish eye and add smaller details to the mouth. Next, use a rough curved line to add the dorsal fin on top of the fish.
Next, we draw two small fins on the front of the fish. These are fairly triangular and have a jagged edge.
Finally, outline the tail fin. None of these items will be particularly detailed, but we’ll add more in the next few steps!
Step 3
You’ve finished drawing the outlines in this how to draw a salmon tutorial, so let’s add some details and interior elements for the remaining steps.
First, draw some curved, wavy lines near the head of the salmon for the gills. Next, we’ll draw another small triangular fin at the bottom of the fish, pointing to the left.
That’s all we’re going to add in this step. So once you’ve drawn all those details, you can move on to step four of the guide!
Step 4
In this fourth part of your drawing of the salmon, we’ll add some facial detail along with some other smaller fins.
First, using the reference image as a guide, draw more wavy lines around the face area to give it more definition.
Next, draw some smaller triangular fins near the bottom of the fishtail.
Once you’ve completed all the details in this step, feel free to add the finishing touches while we move on to the next step!
Step 5
Now, in this fifth step of our guide on how to draw a salmon, we will add the final details and touches.
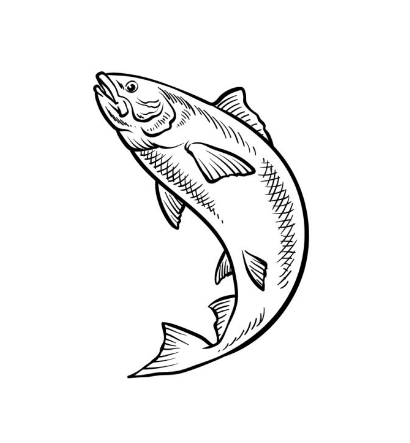
This step mainly focuses on adding some texture detail to the body of the salmon. First, draw straight lines on the fins of the fish.
After drawing this line detail, let’s add texture detail.
To do this, we’ll create a hatch pattern along the body of the salmon to make it more scaly. Then you are ready for the final step of the guide!
You can also draw a background or add other details before proceeding. You could even draw more fish in the background than you like!
Step 6
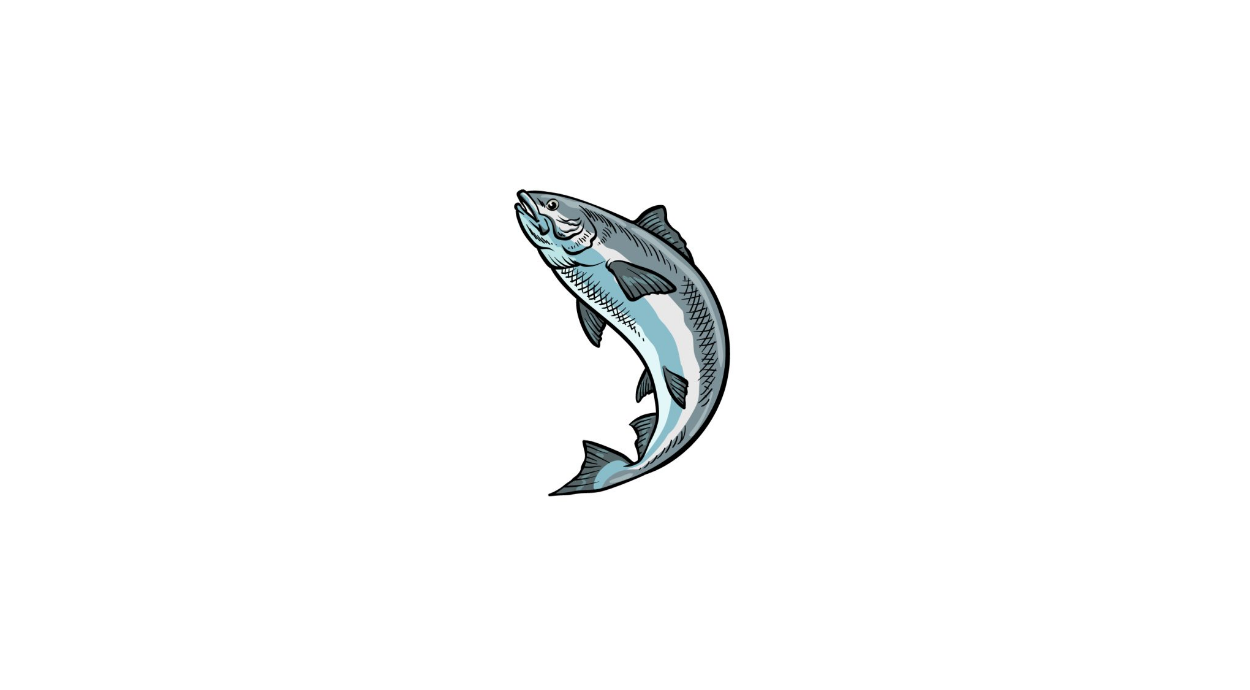
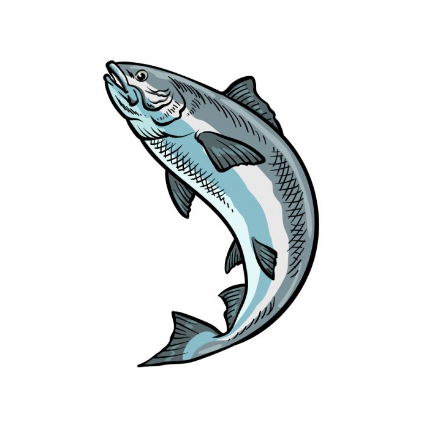
This is the last step of this drawing of the salmon, and in it, we will finish with some colors. In our reference image, we’ve selected alternating shades of blue and gray along the body.
This helps create the more muted appearance of the coloration of a real salmon.
You can use colors similar to these if you like that more realistic look, but feel free to experiment with some of your colors too!
Once you’ve chosen your colors, you can also have a lot of fun choosing the artistic tools and mediums you’ll use to make them. Make sure you have fun while getting creative with this!
Your Salmon Drawing is Finished!


